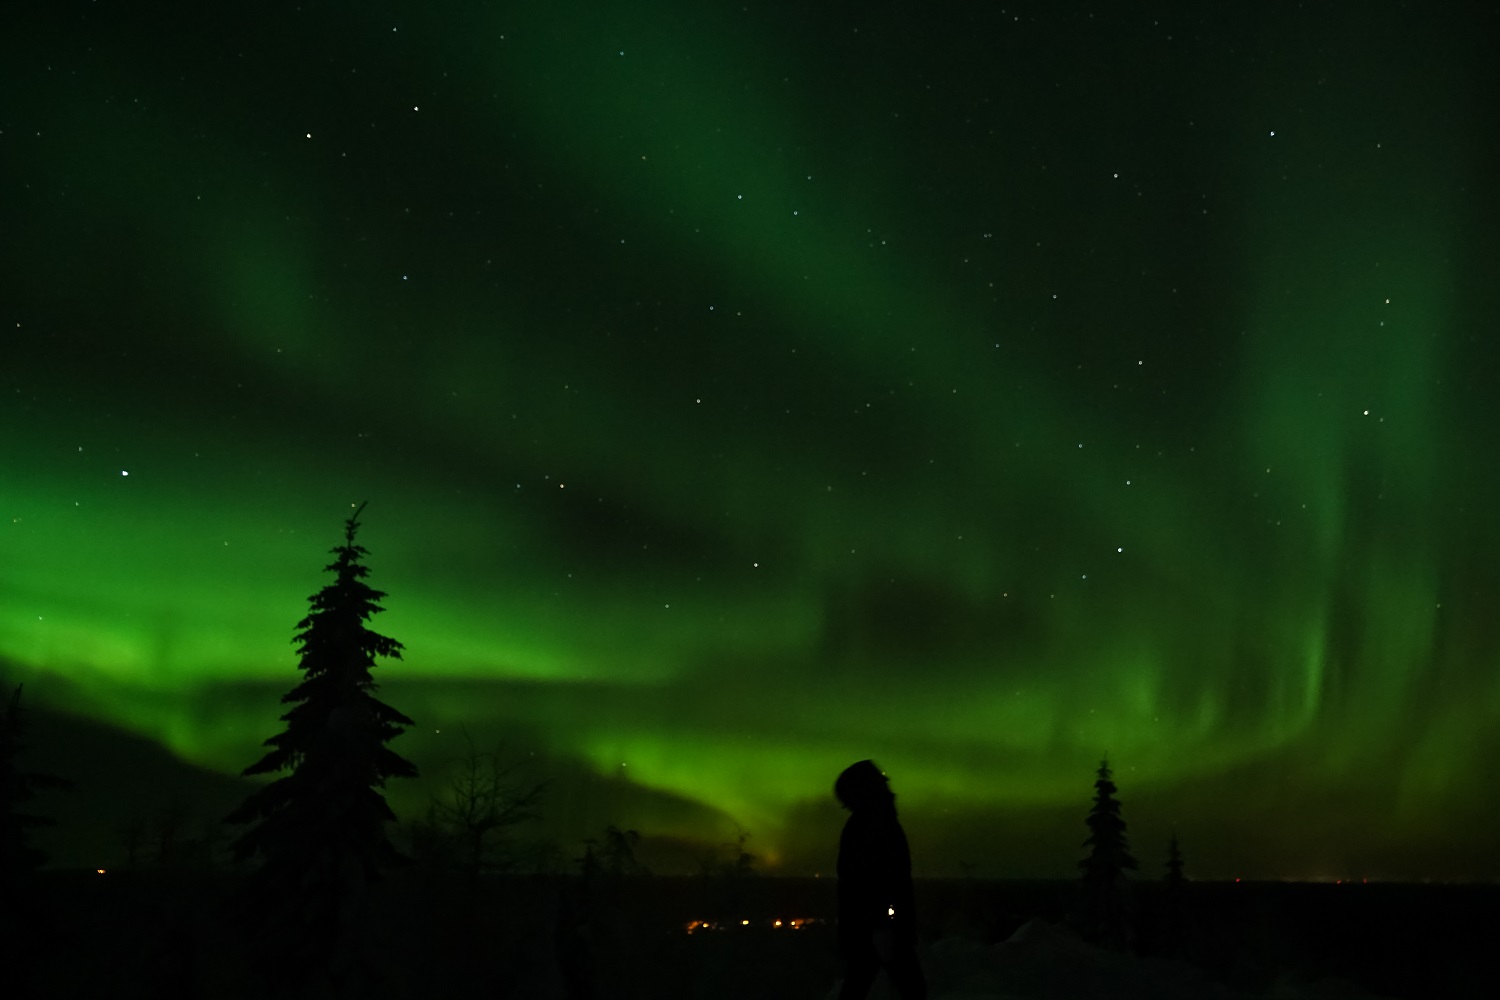
Capturing the Beauty of Northern Lights on Camera
5.8.2024

Understanding the Northern Lights
The Northern Lights, or Aurora Borealis, are a natural light display predominantly seen in high-latitude regions around the Arctic and Antarctic. These lights are caused by the collision of solar wind and magnetospheric charged particles with the high altitude atmosphere. The result is a mesmerizing display of colors that can range from greens and pinks to purples and reds.
To capture this phenomenon on camera, it is essential to understand the conditions under which they appear. The best time to see the Northern Lights is during the winter months when the nights are longest and the skies are darkest. Locations like the Wild Taiga area in Arctic Lakeland Finland offer prime viewing opportunities due to their minimal light pollution and clear skies.
Choosing the Right Equipment
While a high-end DSLR camera is ideal for capturing the Northern Lights, it is also possible to use point-and-shoot cameras or even smartphones. The key is to have a camera that allows manual control over settings. A sturdy tripod is also essential, as long exposure times are required to capture the lights without blur.
For those using a DSLR, a wide-angle lens with a large aperture (f/2.8 or lower) is recommended. This allows more light to enter the camera, which is crucial for night photography. Additionally, a remote shutter release or a camera with a timer function can help minimize camera shake during long exposures.
Setting Up Your Camera
Manual settings are crucial for capturing the Northern Lights. Start with an ISO setting of 1600, an aperture of f/2.8, and a shutter speed of around 15 seconds. These settings can be adjusted based on the brightness and movement of the lights. For instance, if the lights are particularly bright, you may need to lower the ISO or shorten the exposure time.
Using a remote shutter release or a 2-second timer can help reduce camera shake. Additionally, turning off any image stabilization features on your lens or camera is advisable, as these can sometimes cause issues with long exposures.
Finding the Perfect Location
Location is key when it comes to photographing the Northern Lights. The Wild Taiga region is an excellent choice due to its clear skies and minimal light pollution. When scouting for a location, look for open areas with a clear view of the northern horizon. Avoid areas with artificial light sources, as these can interfere with your photos.
Local guides and service providers can offer valuable insights into the best viewing spots. They can also provide real-time updates on aurora activity, helping you plan your photography sessions more effectively.
Practical Tips for a Successful Shoot
Preparation is key to a successful Northern Lights photography session. Dress warmly, as you may be outside for several hours in freezing temperatures. Bring spare batteries, as cold weather can drain them quickly. A headlamp with a red light setting can be useful for adjusting your camera settings without affecting your night vision.
Patience is also essential. The Northern Lights can be unpredictable, and it may take several nights of waiting to capture the perfect shot. Keep an eye on aurora forecasts and be ready to head out at a moment’s notice when conditions are favorable.
Conclusion
Capturing the beauty of the Northern Lights on camera is a rewarding experience that requires a combination of the right equipment, settings, and location. By understanding the phenomenon and preparing adequately, you can increase your chances of taking stunning photos of this natural wonder. Wild Taiga and the whole Arctic Lakeland region offer an ideal setting for this pursuit, with its clear skies and minimal light pollution.
Remember, practice makes perfect. The more you experiment with different settings and locations, the better your photos will become. Happy shooting!


